
Moving a parent into assisted living is a big day for the whole family, and it goes so much better with a plan. This assisted living move-in checklist walks you through every step, from the paperwork and medical forms to what to pack, what to leave home and how to get through the first week.
Think of it as your moving parent to assisted living checklist. Use it as is, print it, or share it with a brother or sister who’s helping. Every community is a little different, so check the details with yours as you go.
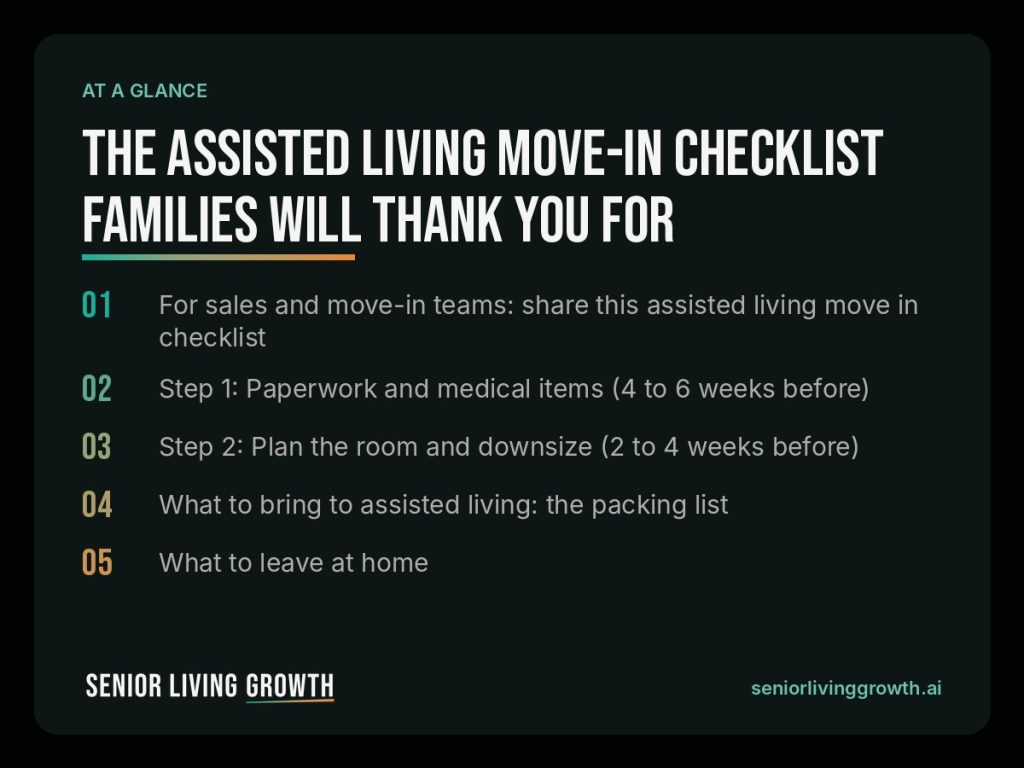
For sales and move-in teams: share this assisted living move-in checklist
If you work at a community, this page is written for the families you serve. Send this assisted living move-in checklist to every family right after they put down a deposit. A family with a clear list asks fewer last-minute questions, shows up with the right forms, and starts their first week feeling ready instead of rushed.
It also makes a great day-three message after a tour. Our Three Post-Tour Messages template has a spot for it. And if you want more of those tours to turn into move-ins, read our guide on how to run a senior living tour.
Before you send it, add your community’s own details: move-in hours, who receives medications, your paperwork list and a contact name for the first week. A personal touch makes an assisted living move-in checklist feel like a welcome, not a form.
Now, for families, here’s the full checklist.
Step 1: Paperwork and medical items (4 to 6 weeks before)
The forms take the longest, so start here. Most assisted living communities need some version of the items below before move-in day, so they come first on any assisted living move-in checklist. Ask your community for their exact list early, because requirements vary by community and by state.
Health and medical
- Physician assessment or health exam form. Most communities ask your parent’s doctor to fill out a form about their health, care needs and abilities. Many states set a time window for it. For example, Virginia requires a physical exam within 30 days before admission, while Illinois allows a physician assessment up to 120 days before. Book the doctor’s visit early.
- Tuberculosis (TB) screening. Many communities and states require a TB test or TB risk assessment before move-in. Ask which kind they accept and how recent it must be.
- Medication list. Write down every prescription, over-the-counter medicine, vitamin and supplement, with the dose and when it’s taken. Ask the doctor to sign off on it if the community asks.
- Pharmacy details. Find out if the community uses a certain pharmacy, and how prescriptions will be refilled and delivered.
- Allergies and diet needs. Food allergies, drug allergies and any special diet.
- Vaccination records, if the community asks for them.
- Doctor and specialist contacts. Names, phone numbers and addresses. Also decide whether your parent will keep their own doctor or see one who visits the community.
Legal and financial
- Photo ID and a copy of their Social Security or Medicare card.
- Insurance cards: Medicare, supplemental plans, prescription coverage and any long-term care insurance policy.
- Power of attorney (POA) papers, both for health care and for finances, if your parent has them.
- Advance directive or living will, plus any do-not-resuscitate or similar medical orders.
- Signed residency agreement. Read it fully before signing. Ask what’s included in the monthly rate, how care costs are set, how rate increases work, and what the move-out notice period is. If anything is unclear, ask for it in writing or have an elder law attorney look it over.
- Payment set-up: first month’s payment, deposit and how ongoing payments will be made.
- Emergency contact list with at least two family members or friends.
Keep copies of everything in one folder, and a digital copy on your phone. You’ll be asked for these more than once.
Step 2: Plan the room and downsize (2 to 4 weeks before)
Ask the community for a floor plan with measurements, or measure the room yourself on a visit. Then sketch where the bed, chair and dresser will go. This tells you exactly what furniture fits before anyone carries it in.
Downsizing is often the hardest part emotionally. Go slow, start early and let your parent make as many choices as they can. Ask what matters most, not just what fits. A favorite chair or a wall of family photos can make a small room feel like home.
Also ask the community what they provide. Some rooms come with a bed or basic furniture, and some include housekeeping, linens or laundry. Knowing this keeps you from packing what you don’t need.
What to bring to assisted living: the packing list
The packing part of your assisted living move-in checklist is about comfort and safety, not quantity. Bring what your parent uses every week and what makes them feel at home. Label each box by where it goes in the room so setup is quick.
Clothing
- About a week to ten days of easy, comfortable outfits
- Clothes that are simple to put on, like pull-on pants and front-opening tops
- Pajamas, a robe and non-slip slippers
- Comfortable, sturdy shoes
- A jacket, sweater and seasonal outerwear
- One or two nicer outfits for holidays and events
- Labels with their name in every piece of clothing, especially if laundry is shared
Bedroom and bathroom
- Bedding, pillows and a favorite blanket or quilt
- Towels and washcloths, if not provided
- Toiletries: soap, shampoo, toothbrush, toothpaste, denture supplies, lotion
- A hamper and a few hangers
- Night lights for safe trips to the bathroom
Health and daily living
- Medications, in their original labeled bottles, plus the medication list
- Glasses, hearing aids, spare batteries and chargers
- Walker, cane, wheelchair or other mobility aids
- A large-button phone or cell phone with a charger
- A big, easy-to-read clock and calendar
Comfort and personal touches
- Family photos and a few pieces of favorite wall art
- A favorite recliner or reading chair, if it fits
- Books, puzzles, crafts or hobby supplies
- A small TV or radio
- A small amount of cash for outings, snacks or the hair salon
What to leave at home
- Throw rugs and area rugs. They’re a common tripping hazard.
- Candles and space heaters. Many communities don’t allow them because of fire risk.
- Valuable jewelry, large amounts of cash and important originals. Bring copies of papers and keep the originals with family.
- Large or heavy furniture that crowds the room or blocks a walker.
- Too many small decorations that clutter surfaces.
- Duplicates and things they rarely use.
Every community has its own rules on items like appliances, extension cords and pets. Ask for their list before packing.
Questions to ask the community before move-in day
A quick call to the community a week or two ahead clears up most moving-day surprises. Add these questions to your assisted living move-in checklist:
- What time can we arrive, and is there a loading area or elevator we should reserve?
- Who will receive the medications, and do they need to come in special pharmacy packaging?
- Will the room be cleaned and ready, and is any furniture staying in it?
- Can we hang pictures ourselves, or does maintenance do it?
- How do mail, phone, TV and internet work here?
- When is the first meal, and will someone walk our parent to the dining room?
- Who is our main contact for the first week?
- When will the first care plan meeting happen?
Write down the answers and the name of the person you spoke with. Share them with anyone helping on moving day.
Don’t forget the address change list
The paperwork doesn’t end on moving day. Your parent’s mail, benefits and accounts all need the new address. Don’t leave this part of your assisted living move-in checklist until last. Start it about two weeks ahead:
- Mail forwarding with the post office
- Social Security and Medicare
- Any pension, VA benefits or retirement accounts
- Banks and credit cards
- Insurance companies, including supplemental and long-term care policies
- Pharmacy and doctors’ offices
- Voter registration
- Magazines, newspapers and other subscriptions
- Friends, family and their place of worship, so cards and visits keep coming
Also decide who will handle bills from now on. If you’re taking over, set up access only where your parent agrees and your power of attorney papers allow it.
Moving day and setting up the room
Pack a small “first night” bag with medicine, pajamas, toiletries, glasses, chargers and a change of clothes. Boxes can wait. That bag can’t.
Set up the bed first so it’s ready when everyone is tired. Then hang the photos and place favorite things where your parent will see them right away. Try to make the room look and feel like home before the family leaves.
Many families find it helps for the parent to spend part of moving day doing something else, like lunch in the dining room or time with a family member, while others set up. Then they walk into a room that’s already theirs.
Before you leave, meet the key staff, double-check that the medications and medication list are with the right person, and save the front desk and nurse phone numbers in your phone.
The first week
- Visit, but don’t hover. Short, regular visits help. Staying all day can make it harder for your parent to meet people.
- Encourage one activity a day. A meal in the dining room, an exercise class or a game group is a good start.
- Introduce them to staff and neighbors. Ask the activities team to help them find people with shared interests.
- Check in with the care team. Ask how meals, sleep and medicines are going, and share anything they should know about your parent’s routines.
- Write down questions as they come up. Then ask them all at once instead of worrying in between.
If your parent is living with memory loss
A move can be extra confusing for someone with dementia. If that’s your family’s situation, add a few items to your assisted living move-in checklist, and ask the community’s memory care team what they suggest for your parent.
- Set up the room to look as much like home as you can, with familiar bedding, photos and furniture in a similar layout.
- Keep moving day calm and simple. Fewer people and less noise usually help.
- Share their routines with staff: when they wake up, what they like to eat, what calms them and what upsets them.
- Ask the team how often to visit in the first weeks. Advice differs from person to person, so follow their lead.
If something isn’t right after move-in
Small hiccups are common in the first weeks, like a mix-up with a medication time or a meal your parent didn’t like. Start by talking with the care team or the director. Most issues get fixed fastest that way.
If your parent’s needs aren’t being met, ask for a care plan meeting. Bring your notes, be specific, and agree on what will change and by when.
If a problem still doesn’t get solved, you have outside help. The federal Administration for Community Living explains that the Long-Term Care Ombudsman Program advocates for residents of nursing homes, board and care homes and assisted living facilities, and that it operates in every state. Add your state’s ombudsman contact to your assisted living move-in checklist, just in case.
Emotional support for your parent and for you
It’s normal for your parent to feel sad, nervous or even angry at first. Big changes are hard, especially later in life. Listen without trying to fix every feeling, and remind them of the reasons for the move: safety, company and help when they need it.
There’s no set timeline for settling in. Some people feel at home within a few weeks, and others take a few months. Be patient, and celebrate small wins, like a new friend or a good meal.
Take care of yourself, too. Many adult children feel guilt, relief and grief all at once. Those feelings are normal. Talk with a friend, a support group or the community’s staff, who have helped many families through this same moment.
Your one-page assisted living move-in checklist
Here’s the whole plan on one page. Print it, stick it on the fridge and check items off as you go.
4 to 6 weeks before
- Ask the community for its paperwork list
- Book the doctor’s visit for the health exam form
- Schedule TB screening if it’s required
- Write the full medication list
- Gather ID, insurance cards, power of attorney papers and advance directives
- Read the residency agreement and ask your questions before signing
2 to 4 weeks before
- Get the room measurements and sketch the layout
- Decide which furniture and keepsakes are coming
- Book movers or line up family helpers
- Start the address change list
- Label every piece of clothing
The week before
- Confirm the move-in day and time with the community
- Confirm who receives the medications and how
- Set up phone, TV or internet if your parent wants them
- Pack the first-night bag
Moving day
- Set up the bed first
- Hang photos and place favorite things where your parent will see them
- Meet key staff and save their numbers in your phone
The first week
- Visit often, but keep visits short
- Encourage one activity a day
- Check in with the care team
Wrapping up
A smooth move comes down to three things: start the paperwork early, pack for comfort and safety instead of quantity, and give your parent time and support to settle in. Use this moving to assisted living checklist as your guide, and ask your community about anything that’s specific to them or your state.
Work at a community and want more tools like this for your families? Browse our free templates or visit the Senior Living Growth home page for more free resources.
Keep reading
- How to Build a Resident Referral Program That Works
- Senior Living Sales Training: 7 Skills Every Counselor Needs
- How to Build a Senior Living Marketing Plan (Free Template)
- More sales guides on the blog
FAQ
What paperwork do you need to move into assisted living?
Most communities ask for a physician assessment or health exam form, a medication list, TB screening, photo ID, insurance cards and emergency contacts. Many also want copies of power of attorney papers and advance directives, plus a signed residency agreement. Ask your community for their exact list, because it varies by community and state.
Do you need a TB test to move into assisted living?
Many communities and states require a TB test or TB risk assessment before move-in. The type of test and how recent it must be depend on state rules and the community’s policy. Ask early so you have time to get results back.
When should you start an assisted living move-in checklist?
Start about four to six weeks before move-in day if you can. Doctor’s forms, TB screening and downsizing take the longest, so begin with those. If the move is sooner, ask the community which items they need first.
What should you not bring to assisted living?
Leave behind throw rugs, candles, space heaters, large furniture, valuable jewelry and original documents. Too many small decorations and duplicate items also crowd a smaller room. Ask the community for their list of items that aren’t allowed.
How can I help my parent adjust to assisted living?
Make the room feel like home with familiar things, visit often but briefly, and encourage one activity a day. Stay in touch with the care team and be patient. Every person adjusts at their own pace.